FAQ
Collapsible content
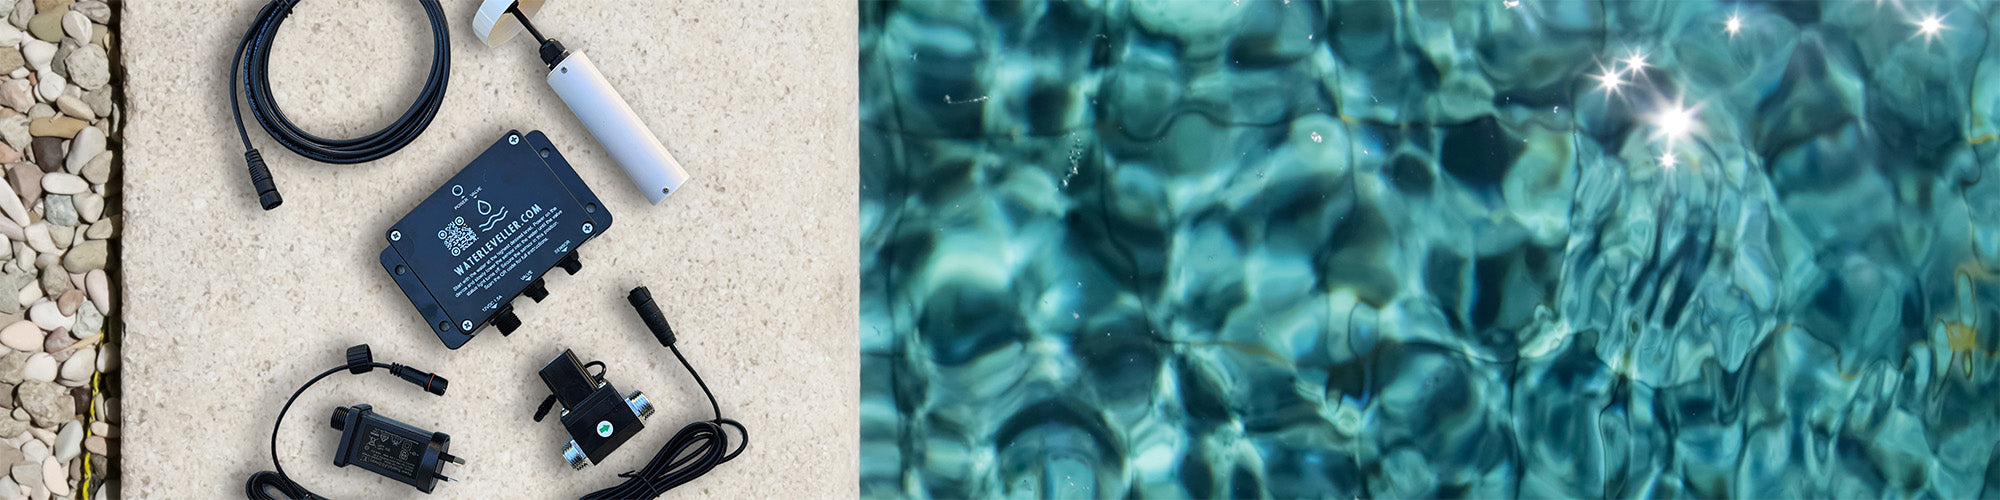
How does the kit regulate the water level?
The kit uses a control unit which opens and closes a solenoid valve based on feedback from a water level sensor. When the water level goes below the lower limit, the valve opens to fill the pool, and when it reaches the upper limit, the valve closes to stop the flow. The difference between these limits is approximately 20mm (3/4 inch). The valve will only open again when the water level falls below the lower limit.
The desired upper water level is set during installation.
Can I extend the cables for the solenoid valve and water level sensor?
We can supply prefabricated extension cables for both the solenoid and sensor unit, contact support for more information.
However, you can extend both the solenoid valve and water level sensor cables yourself, but it's crucial to do it correctly.
If you're adept at DIY tasks or are a professional, use the appropriate gauge wire and ensure the extensions are properly terminated, sealed and waterproofed to the appropriate wires. Incorrect extensions can lead to malfunctions and void your warranty.
How much power does the unit consume?
The unit consumes ~0.7W in standby mode and ~3W when the solenoid valve is engaged.
What should I do if I lack an auxiliary pipe for the water sensor or intake?
Refer to our Installation Instructions page for guidance on alternative installation methods.
Is this kit compatible with existing pools?
Yes, a knowledgeable professional or a DIY enthusiast with the required skills can integrate the kit into an existing pool's plumbing. Ensure you have a power outlet and the right plumbing connections. For detailed guidance, check our Installation Instructions page.
What should I do if the solenoid valve malfunctions?
If the solenoid valve fails, it typically remains closed. In the unusual case it's stuck open (we're yet to see this), shut off the water using the recommended manual faucet.
Ensure regular inspection of the kit during pool maintenance. The solenoid valve is under warranty, as detailed in our policy.
Solenoid Specifications: 12V DC, 20mm (1/2 inch) thread, normally closed, operating pressure: 50-1000 kPa.
What maintenance is required?
Our kit is designed for minimal maintenance, but like all pool equipment, a quick periodic check ensures everything keeps running smoothly. You can perform this test during your regular pool maintenance routine:
- Check power – Make sure the water level is within the normal range and the control unit is powered on. The power status light (in the logo) should be illuminated.
- Simulate low water – Without loosening the black cable gland (doing so would require recalibration), gently lift the water level sensor unit out of the water by the cap. This simulates a low water level and should cause the solenoid valve to open.
You’ll hear water begin to flow and see the valve status light turn on. - Return to normal – Lower the sensor back into the water and place the cap back onto the pipe. The valve will continue to run briefly until the water reaches the pre-set upper level, then shut off automatically. The valve status light will turn off when it closes.
If these steps work as described, your system is operating normally.
If the valve doesn't open or close correctly, or if lights don't behave as expected, it may indicate mineral build-up on the sensor probes. In that case, please follow our Sensor Cleaning & Maintenance Guide for step-by-step instructions on how to restore proper operation.
If you encounter any issues or have concerns, please don't hesitate to reach out to us.
How do I test it?
You can perform this test during your regular pool maintenance routine:
- Check power – Make sure the water level is within the normal range and the control unit is powered on. The power status light (in the logo) should be illuminated.
- Simulate low water – Without loosening the black cable gland (doing so would require recalibration), gently lift the water level sensor unit out of the water by the cap. This simulates a low water level and should cause the solenoid valve to open.
You’ll hear water begin to flow and see the valve status light turn on. - Return to normal – Lower the sensor back into the water and place the cap back onto the pipe. The valve will continue to run briefly until the water reaches the pre-set upper level, then shut off automatically. The valve status light will turn off when it closes.
If these steps work as described, your system is operating normally.
If the valve doesn't open or close correctly, or if lights don't behave as expected, it may indicate mineral build-up on the sensor probes. In that case, please follow our Sensor Cleaning & Maintenance Guide for step-by-step instructions on how to restore proper operation.
If you encounter any issues or have concerns, please don't hesitate to reach out to us.
My sensor stopped working. What should I do?
If your WaterLeveller sensor has stopped working or the water level is no longer being maintained automatically, don’t worry — the issue is usually simple to resolve.
- Check the power first – Ensure the control unit is plugged in and the power light (in the logo) is illuminated. If not, verify the power outlet and adapter connection.
- Inspect the connections – Confirm that the sensor cable and solenoid cable are securely plugged into the control unit and haven’t been damaged or pulled loose.
- Test the sensor operation – You can easily simulate a low and high water condition by following our System Test Procedure (see the 'How do I test it?' FAQ). This will confirm if the sensor and solenoid are responding correctly.
- Clean the sensor – If the solenoid doesn’t activate or the lights don’t behave as expected, the most common cause is mineral build-up on the stainless-steel probes. Over time, harmless deposits from pool water can reduce the sensor’s conductivity.
Follow our Sensor Cleaning & Maintenance Guide for step-by-step instructions using household white vinegar to restore performance.
After cleaning, retest the sensor as described above. In nearly all cases, this resolves the issue.
If your system still doesn’t respond after cleaning, please contact our support team for assistance — we’ll help you diagnose the problem quickly.
Can this kit be used outdoors?
Yes. All components are weather proof and can be installed outdoors.
Do you provide an installation service as well?
We are based in Sydney and if required, may be able to help with installation at a per hour basis. If you would like us to provide a quote for you, please contact us via our Contact Us form.
I'm looking to buy several units, do you do bulk discounts or B2B?
Yes, definitely. Please get in touch with us via our Wholesale form.
Does the kit carry the RCM or C tick certification?
Our kit has undergone lab testing and meets electrical safety, electromagnetic compatibility (EMC), and telecommunications standards and carries the Australian Regulatory Compliance Mark (RCM tick, formally known as the C tick).